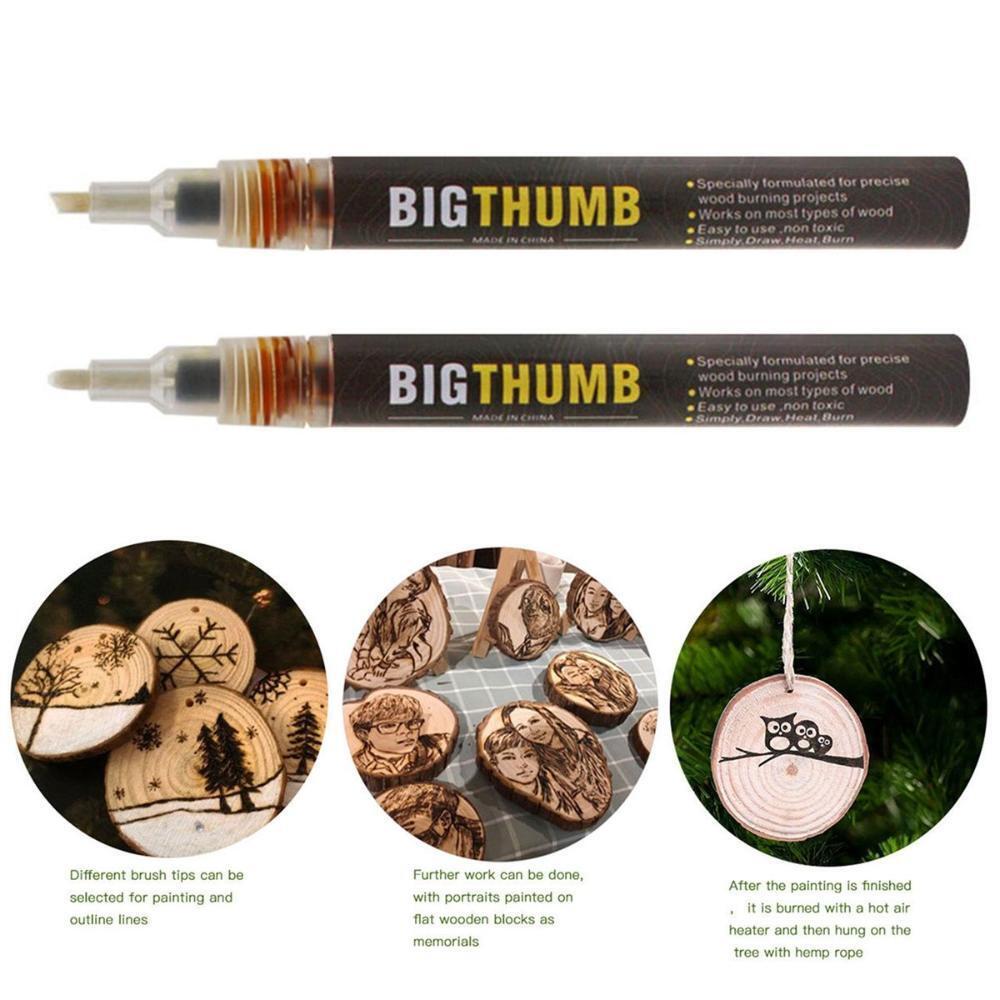
8 Tips for Successfully Using Your Scorch Marker
Instead of navigating the world of complicated wood burning techniques, the Scorch Marker allows you to spend more time focusing on creating and having fun. This article will be examining some of the top tips to get the most out of your Scorch Marker. 1. Sand Your Surface Before Burning 2. Transfer Patterns Before
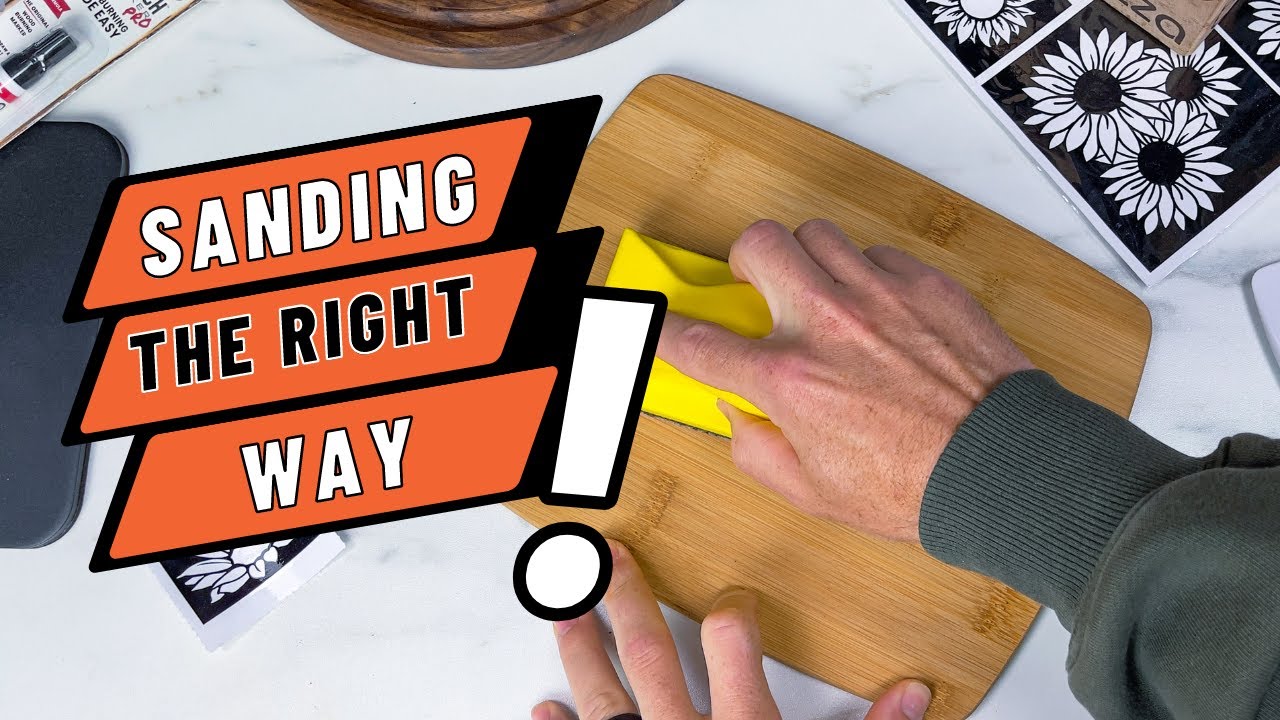
1. Sand Your Surface Before Burning
Because the Scorch Marker works just like a regular marker with a fiber nib, a smooth surface is imperative.
This will allow for easier writing and will help prevent the liquid from bleeding into the grain of your wood.
A smooth, sanded surface is the best way to begin your project.
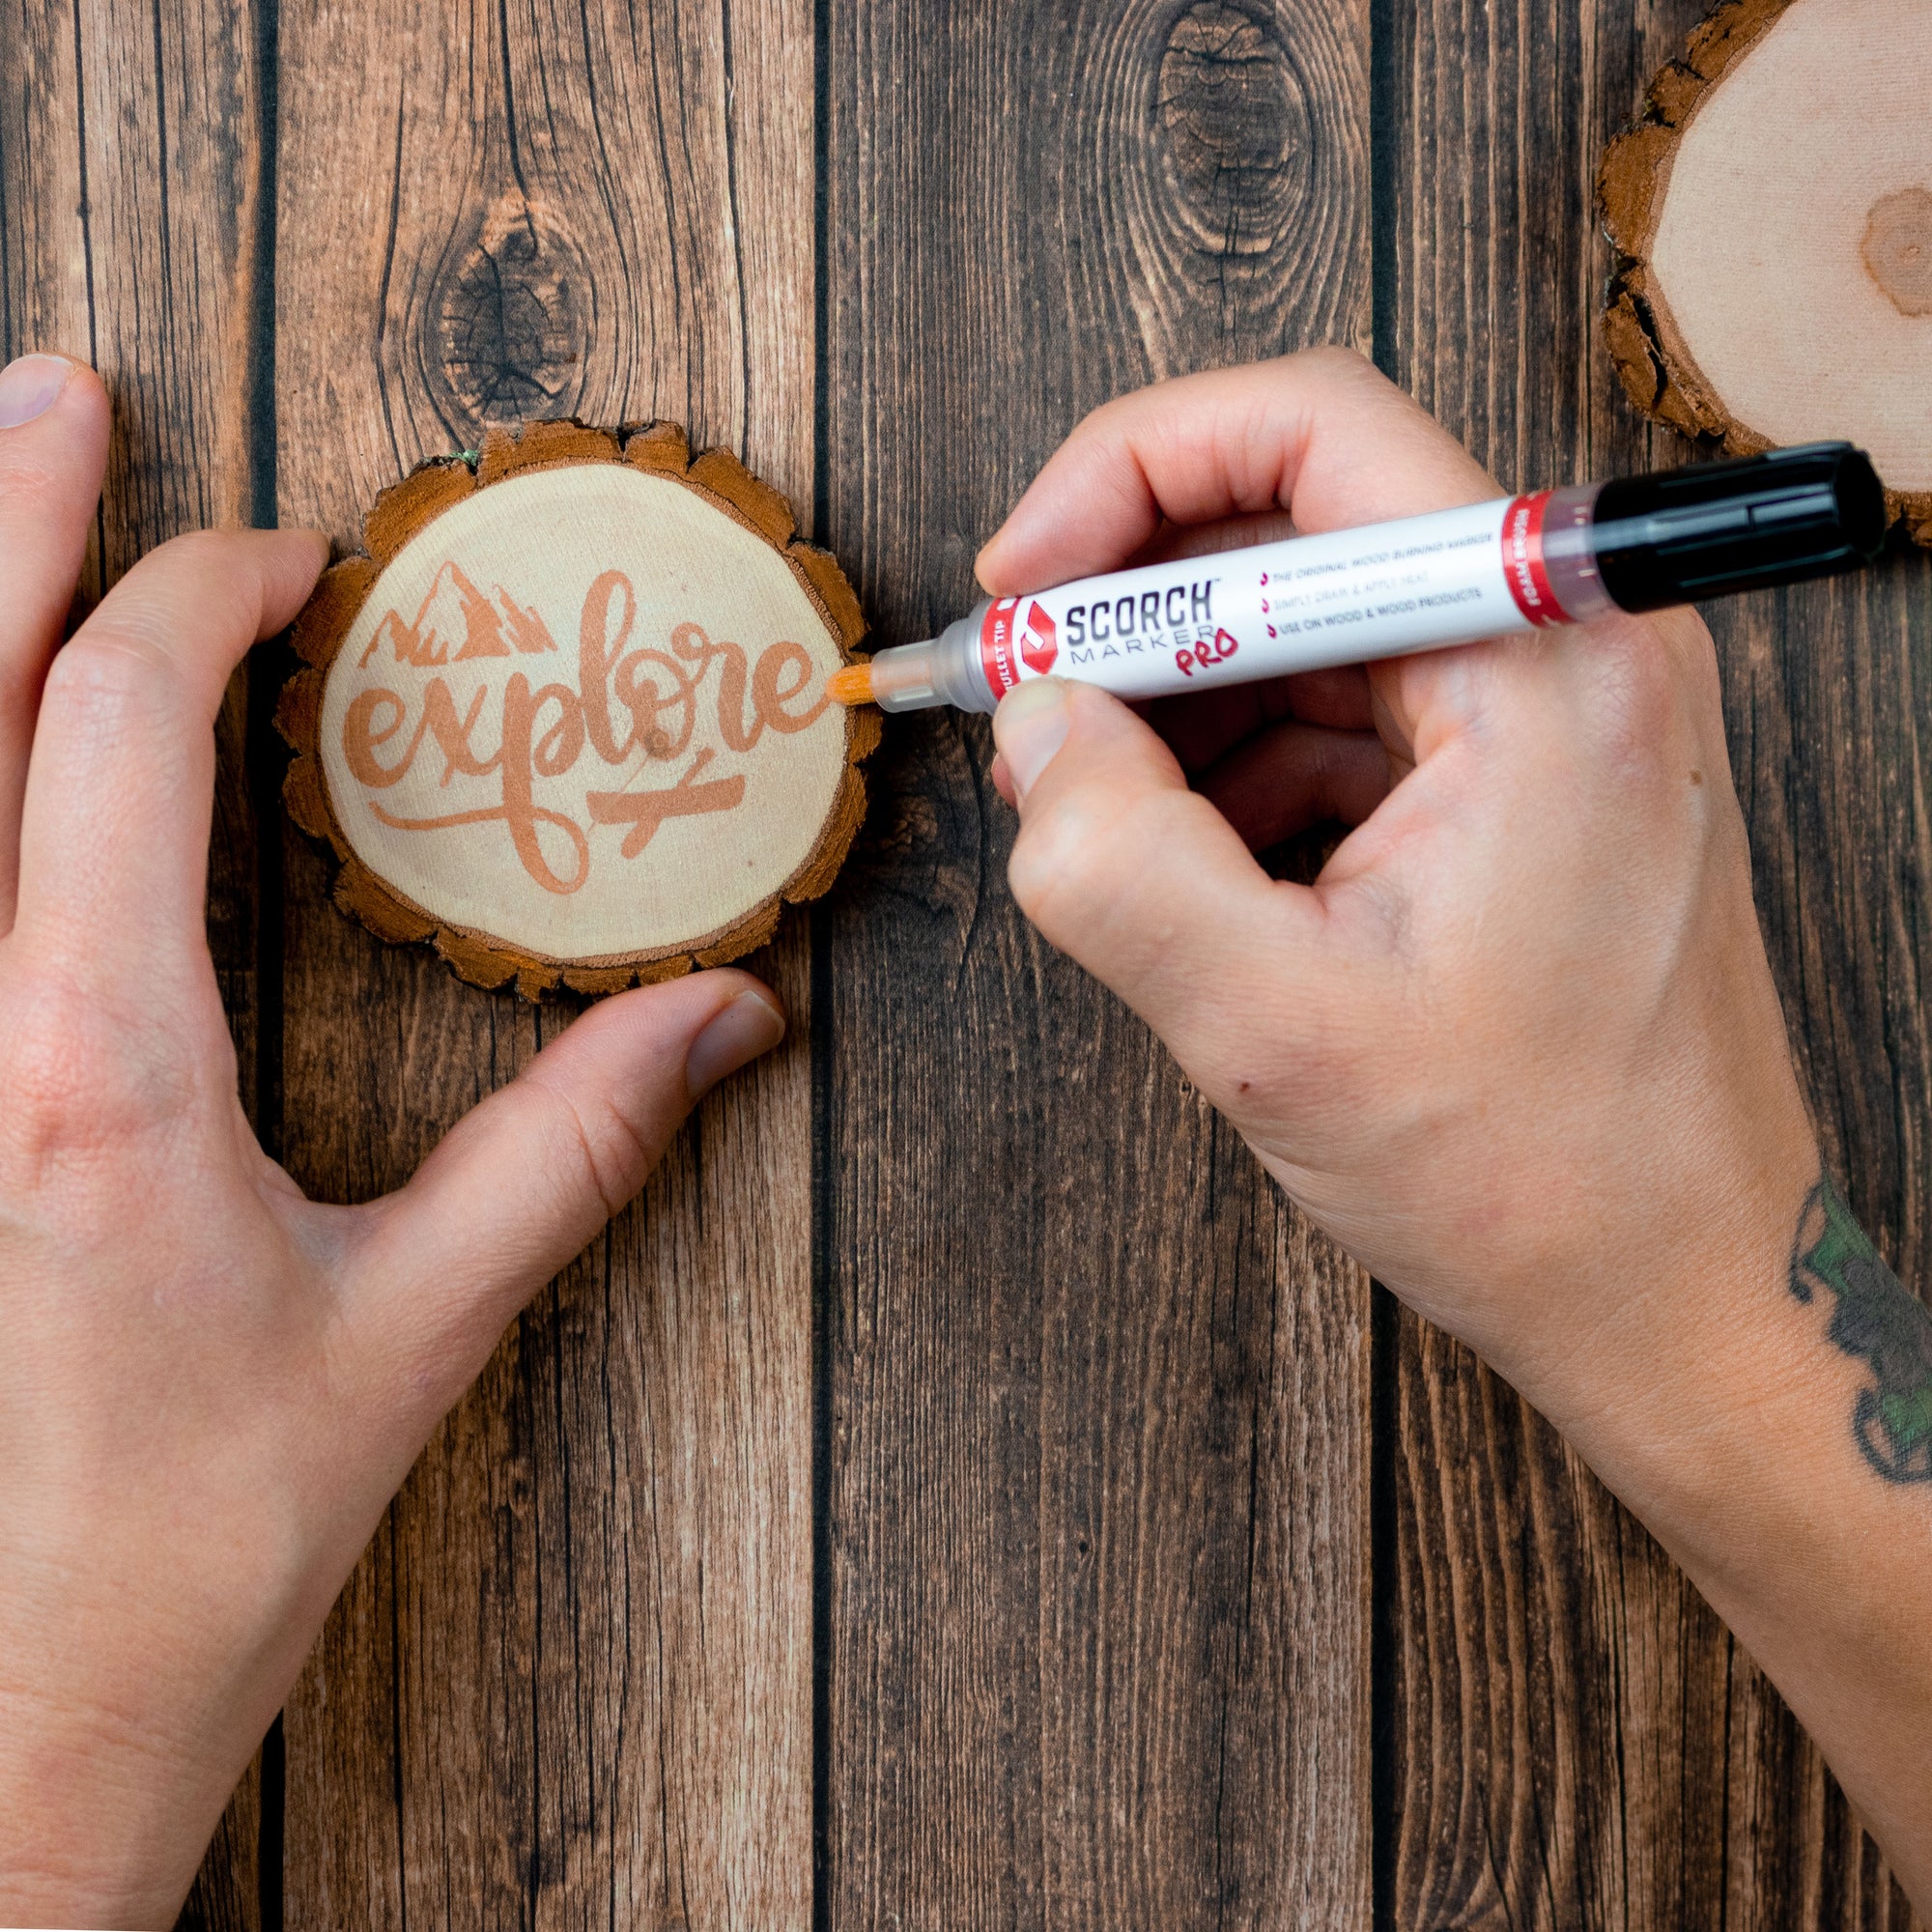
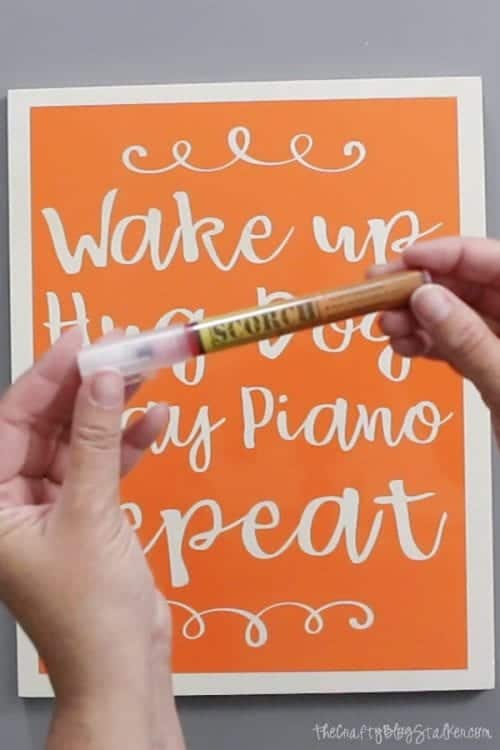
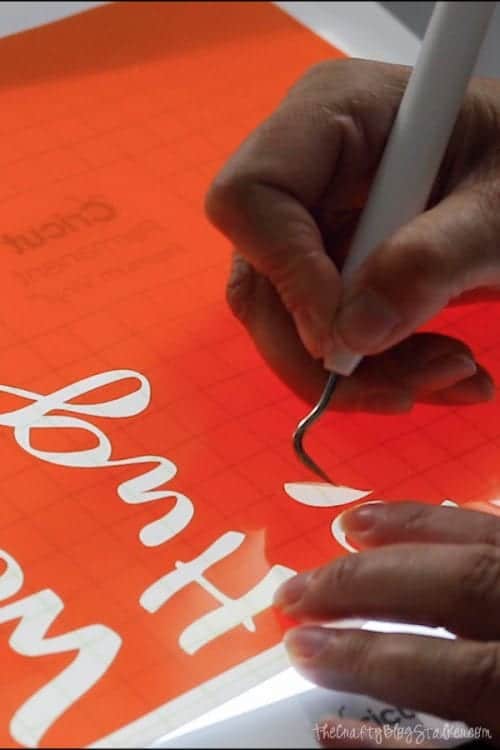
2. Transfer Patterns Before Using Your Scorch Marker
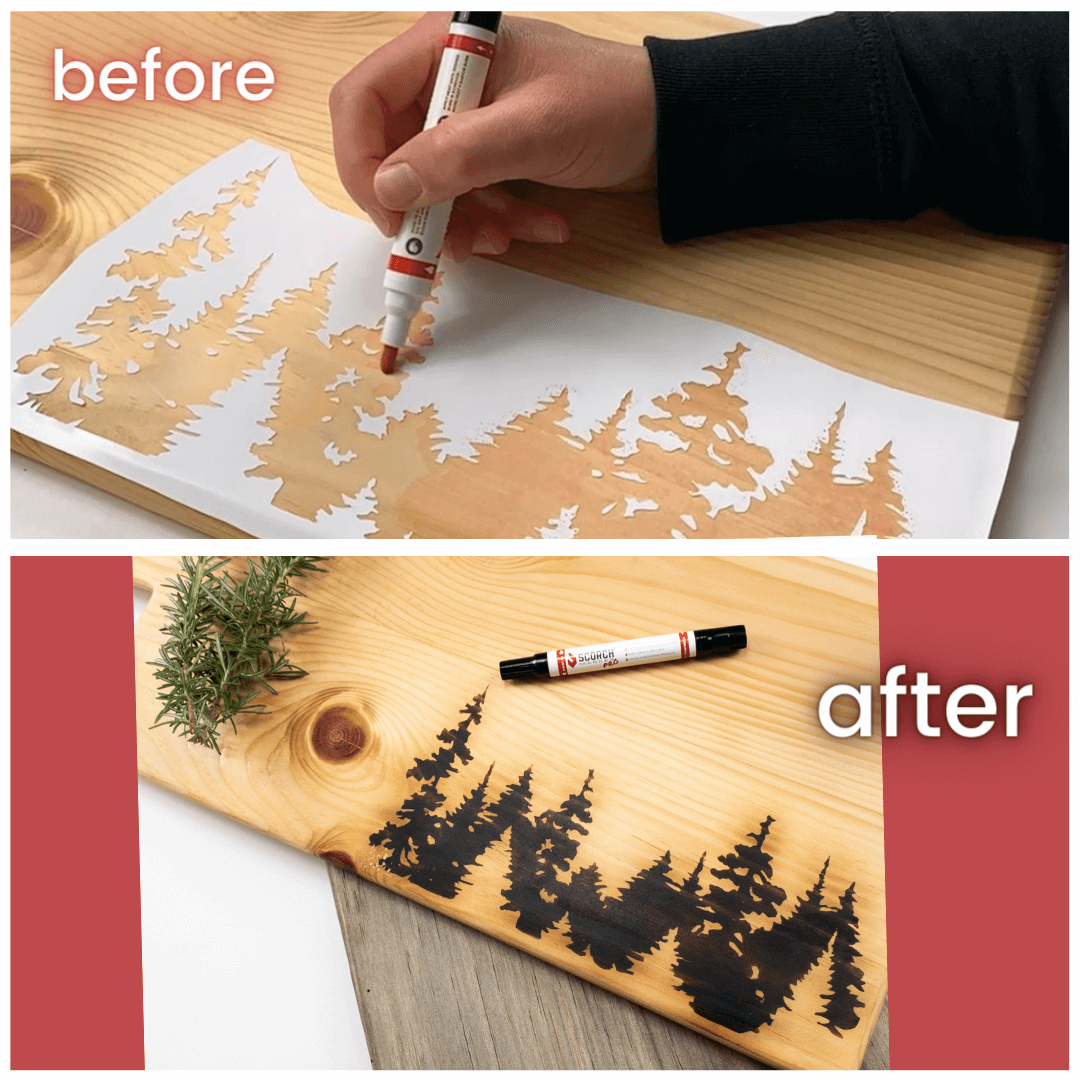
Using transfer paper for wood or just a pencil, take the time to provide an outline for yourself before working with the Scorch Marker.
Because heat isn’t applied until after you’re finished drawing, stencils can also be used to create clean lines.
This reduces the need for sanding away mistakes made with the Scorch Marker.
3. Use a Powerful Heat Gun
Scorch Marker 2MM Felt Tip - Fine Point
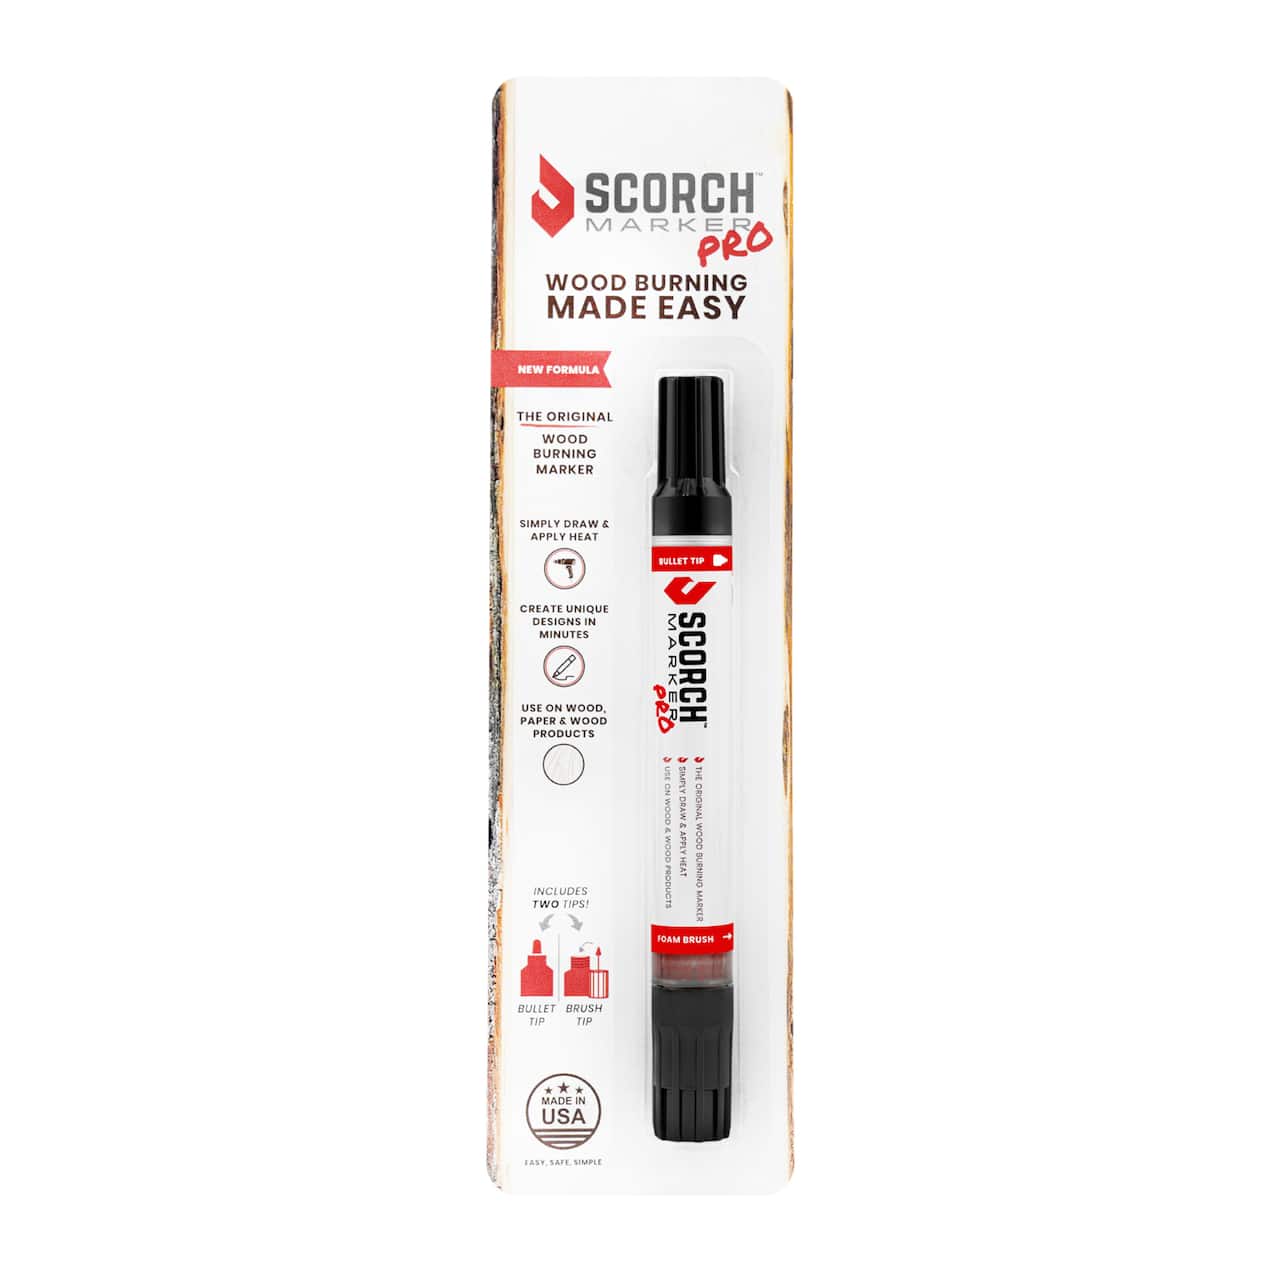
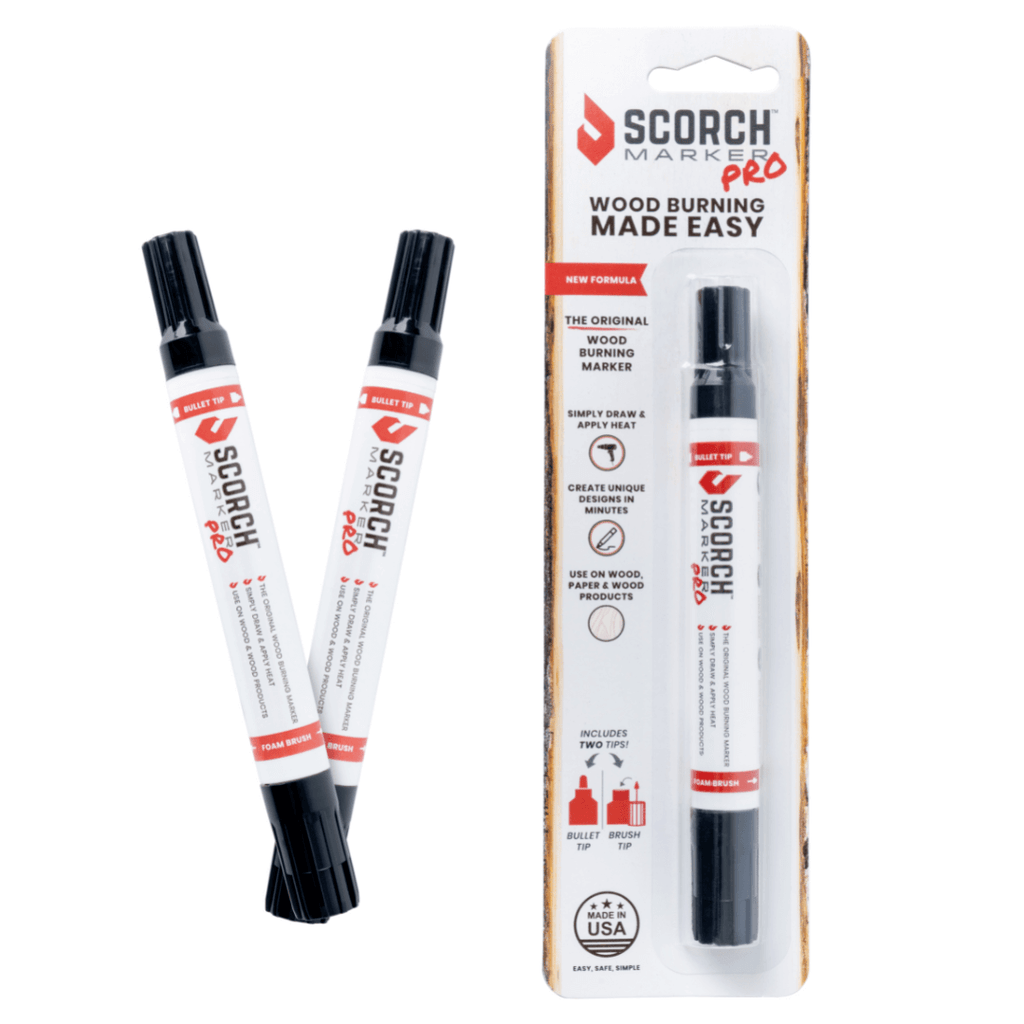
Scorch™ Marker Pro
8 Tips for Successfully Using Your Scorch Marker
How to Use a Scorch Marker for Wood Burning Art

Scorch Marker Woodburning Pen Tool with Foam Tip and
Scorch Jet Flame Multipurpose Butane Torch Lighter 61251. Scorch
How to Use a Scorch Marker for Wood Burning Art

3 Ways to Remove Scorch Marks - wikiHow

27 Free Wood Burning Patterns … …
Tips for Successfully Using Sandpaper
Scorch Marker Pro - Wood Burning With a Marker


.jpg)